When shopping for used daypacks, you’re not just looking for a good deal—you’re hunting for a reliable companion for your adventures.
But how can you tell if that pre-owned pack will last or fall apart mid-hike? The difference often lies in knowing where to look beyond obvious surface damage.
A thorough inspection can save you money and potential disappointment down the trail.
Why Inspecting Pre-Owned Daypacks Matters
That bargain-priced pack might seem perfect at first glance, but hidden issues can turn your great deal into a frustrating mistake.
The average daypack endures about 1,500 hours of use over its lifetime, with stress concentrated in specific areas you need to check carefully.
The 12-Point Pre-Owned Daypack Inspection Guide
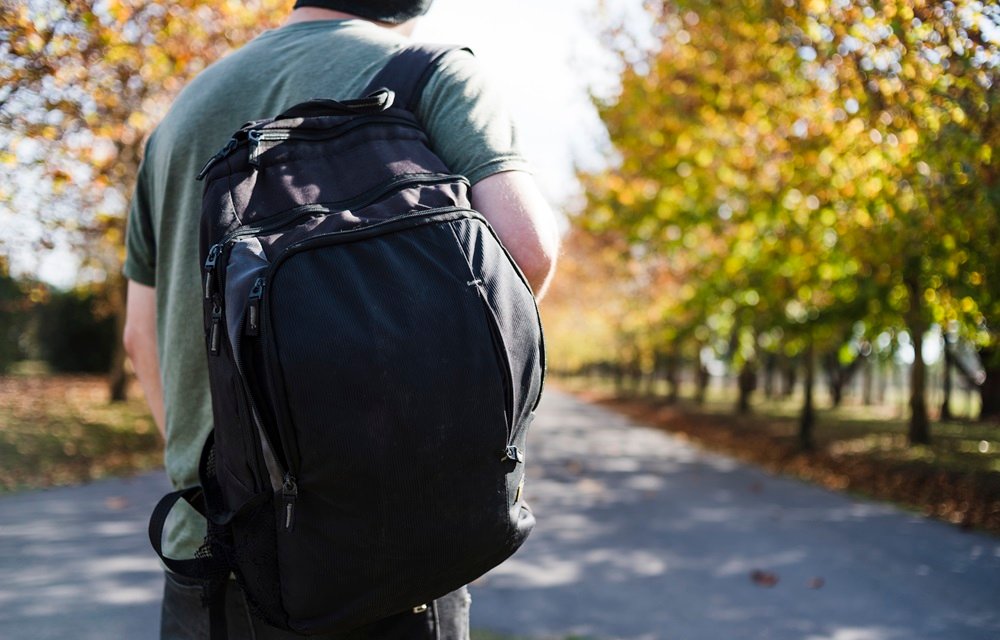
1. Shoulder Straps: The Weight-Bearing Test
The shoulder straps take nearly 70% of your pack’s weight. Examine both straps carefully for:
- Fraying at connection points
- Compression damage to padding
- Stretching that can’t be adjusted back
If you notice the foam has flattened completely or the stitching is coming loose, these repairs are often costly or impossible.
2. Main Zipper Integrity
Run the zipper back and forth several times. Does it catch? Are teeth missing? The main zipper typically fails first on daypacks, often showing problems long before complete failure.
3. Bottom Panel Examination
Always check the bottom panel thoroughly—this area experiences the most abrasion and wear. Place the pack on a flat surface and press down. Any light showing through means there’s significant thinning of the material.
4. Hidden Water Damage Signs
Water damage isn’t always obvious but can destroy a pack’s integrity. Look for:
- Stiff, crunchy fabric texture
- Discoloration or watermarks
- Mildew smell (may indicate internal frame rust)
5. Seam Strength Assessment
Seams reveal the pack’s true condition. Gently pull along main seams—any separation means the pack is near failure. Pay extra attention to areas where shoulder straps connect to the main body.
6. Internal Frame Condition
For framed daypacks, feel the frame through the fabric. Bent or warped frames can’t be easily fixed and will create pressure points on your back during use.
7. Material Integrity Check
Different fabrics reveal wear differently. Here’s what to look for:
| Material Type | Normal Wear Signs | Red Flags |
| Nylon | Light fading, minor scuffs | White stress lines, thinning fabric |
| Polyester | Surface pilling | Stretched fabric, visible holes |
| Canvas | Color variation, softening | Thread separation, brittle texture |
8. Buckle and Hardware Testing
Plastic hardware deteriorates over time from UV exposure. Test every buckle, clip, and adjustment point. If any feel brittle or show tiny cracks, they’ll likely fail when you need them most.
9. Internal Coating Condition
Turn the pack inside out if possible. The waterproof coating should be intact without flaking or peeling. Once this coating fails, water resistance is permanently compromised.
10. Compression System Check
If the daypack includes compression straps, test their functionality. Straps should tighten smoothly and hold firmly when secured.
11. Back Panel Padding
The back panel reveals how the pack was stored. Uneven compression or lumps in the padding suggest improper storage, which can affect comfort and fit.
12. Hidden Compartment Assessment
Don’t forget to check small pockets and compartments—these often hide damage or unexpected surprises from previous owners.
Making Your Final Decision
After your inspection, weigh the pack’s condition against its price. Minor cosmetic issues don’t affect function, but structural problems will only worsen with use.
A well-maintained used daypack can serve you for many years, while a compromised one might fail when you’re miles from home.
Remember that some brands originally offer lifetime warranties, but these typically don’t transfer to second owners of used daypacks.
Your careful inspection is your best protection against purchasing a pre-owned pack that won’t meet your needs.
When in doubt, bring along a small weight (about 5-10 pounds) to test how the pack feels when loaded. This simple test often reveals issues that aren’t visible during a standard inspection.
Q&A
Why is the main zipper so important, and how do I test it?
Answer:
The main zipper sees the most use and often fails first.
To test it:
- Zip and unzip multiple times
- Check for missing teeth, snags, or a misaligned track
- Look at the zipper pull for wear or looseness
A sticky or failing zipper makes the pack unreliable, especially in wet or remote conditions.
What’s the big deal about the bottom panel?
Answer:
The bottom panel suffers the most abrasion, since the pack is constantly being set down.
Press the panel over a light source or hard surface:
- If light shines through or you feel thin spots, the material is too worn
- A weak bottom can rip under load or let in water
What does a damaged internal frame feel like?
Answer:
A bent or warped internal frame:
- Feels asymmetrical or has unnatural curves when you run your hands down the back panel
- May poke or bulge awkwardly against your back
- Won’t distribute weight properly
You likely can’t repair a bent internal frame, and it will make the pack uncomfortable to wear.
Can I trust the buckles and plastic hardware on an older pack?
Answer:
Not without testing them.
- Buckles should click solidly and not show hairline cracks
- Plastic exposed to sunlight and heat can become brittle over time
If they snap or feel loose, it’s hard to find exact replacements that match.
How do I decide if the pack is worth buying after inspection?
Answer:
Weigh these factors:
- Structural integrity (zippers, straps, seams, frame) matters more than cosmetics
- If most issues are cosmetic or easily repairable, and the price is low, it’s likely a good buy
- If there are critical failures, pass—even if it’s cheap
Bring a 5–10 lb weight to test it on your back. If it feels wrong when loaded, walk away.