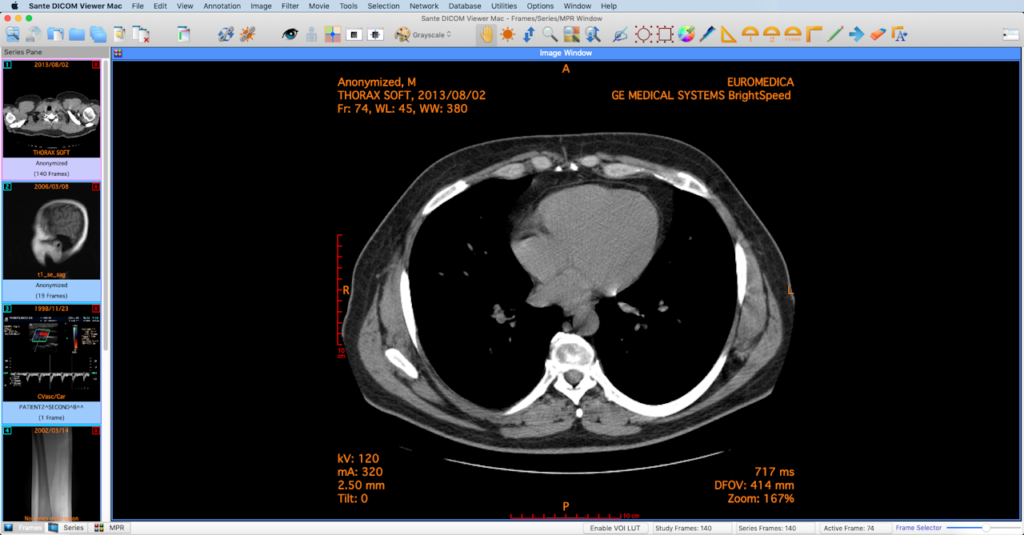
Have you ever been sent a DICOM file and struggled to open it on your Mac? As frustrating as it is, you’re not alone.
DICOM stands for “Digital Imaging and Communications in Medicine” – it’s the international standard format for storing and transmitting medical images.
Trying to open complex file types can be confusing, but we’ll break this down into simple steps to view your DICOM images properly.
We know reading technical instructions isn’t always the most riveting task.
That’s why we’ll be using everyday language here with no complex medical jargon. This guide will:
- Explain what exactly DICOM files are
- Recommend the best free DICOM viewer Mac
- Provide a step-by-step process for installing and using these programs
By the end, you’ll be viewing those tricky DICOM files in no time!
Why Can’t I Open DICOM Files Normally?
You’ve probably tried double-clicking a DICOM file, only to be faced with error messages. So what gives?
As mentioned, DICOMs contain both image data AND extra metadata. That additional information gets packaged together in a format standard called DICOM Structured Reporting.
Instead of pixels like a jpeg, it organizes content using code based on ones and zeroes. This allows the file to store data as text labels, measurements, coordinates and more.
Here’s a real-life example of what that coded data could look like:
| Patient Sex | M |
| Patient Age | 34 |
| Image Slice Thickness | 3 mm |
| MRI Sequence | t2_tse_tra |
Because of this – typical image programs aren’t built to unpack all of that coded data.
They’ll simply show the metadata info as disjointed characters and symbols.
Specialized DICOM viewers contain algorithms to decode these files properly. That allows you to correctly see the image along with relevant patient data.
Now that the issue is clear, let’s look at solutions!
Step-By-Step Guide to View DICOM Files
We’ve explored what exactly DICOM files are, and solutions for working with them on Mac. Now let’s get practical!

Here is a simple walkthrough to get a DICOM viewer installed and start seeing images correctly:
Choose Your Preferred DICOM Viewer
Based on the options covered already, decide whether to install OsiriX or Horos for your usage requirements.
If opting for Horos – grab the free download here:
https://horosproject.org/
Otherwise, Osirix can be found at:
https://www.osirix-viewer.com/downloads/
Download and Install The Software
With the file downloaded, follow prompts to install it on your system.
The process should take 5-10 minutes total to fully unpack and configure all necessary components.
Import Your DICOM Images
Once installed, launch the DICOM viewer program. You’ll be met with a blank workspace panel titled “Drag Images Here”.
Simply find your DICOM files in Finder, then click and drag them directly onto this window. Your images should populate automatically!
Alternatively, most viewers also have a top menu File -> Import option. Through here you can search and select DICOM files to bring into the software.
Adjust Viewer Tools To Inspect Images
Congratulations – your DICOM images are now successfully imported!
From here, take time familiarizing yourself with the viewer’s tools and options. Toggle between scans, adjust image properties, and zoom/pan to inspect specific regions and more.
Some examples of functionality to explore:
- Brightness / Contrast
- 3D Rendering
- Measurement
- Adding Annotations
- Exporting Images
Tinker with it – that’s part of the learning and discovery!