
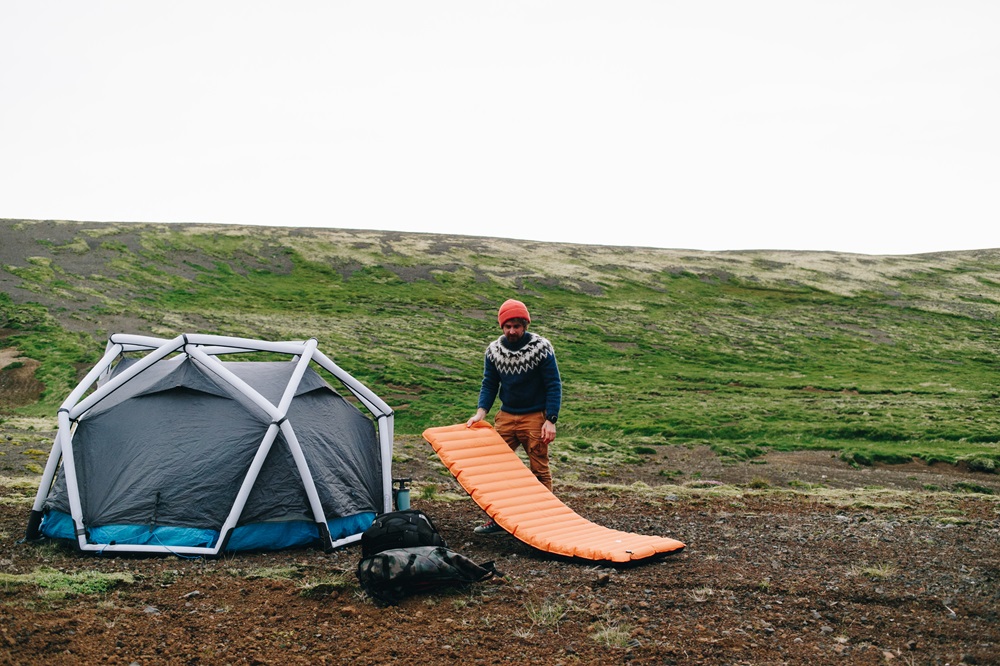
You just bought a used sleeping pad online, and now you’re wondering if it’ll leave you lying flat on cold ground at 2 AM. That’s where a thorough 12-hour leak test comes in.
This method uses soap bubbles to spot even the tiniest air leaks, so you can sleep soundly knowing your used sleeping pad won’t deflate halfway through the night.
What Makes the Soap Bubble Method Work?
The soap bubble technique isn’t rocket science. When you mix dish soap with water and apply it to an inflated pad, escaping air creates bubbles at the leak point.
It’s the same principle mechanics use to find tire punctures, and it works just as well for sleeping pads.
The 12-hour duration matters because slow leaks take time to show up. A pad might seem fine during a quick five-minute check, but lose air gradually over several hours.
That’s the difference between waking up refreshed or on a deflated mat with a sore back.
What You’ll Need for Testing
Grab these items before you start:
- One bottle of liquid dish soap
- A spray bottle filled with water
- A small bowl for mixing
- Clean towels for drying
- A marker or tape for marking leaks
- A quiet space with good lighting
You don’t need expensive equipment. Regular household dish soap works perfectly fine. Some people prefer Dawn or similar brands because they create longer-lasting bubbles, but any brand does the job.
How to Prep Your Sleeping Pad
First, inflate the pad completely. Don’t just fill it halfway and call it good. Most leaks only reveal themselves when the pad is at full pressure. If your pad has a built-in pump, use it. Otherwise, lung power works fine for smaller pads.
Clean the surface with a damp cloth. Dirt and debris can hide small punctures, and you want a clear view of every inch. Let the pad dry completely before moving forward.
Set up in a well-lit area where you can leave the pad undisturbed for 12 hours. A garage, spare room, or covered patio works well. You need stable temperature conditions because heat and cold affect air pressure inside the pad.
Creating Your Soap Solution
Mix three parts water with one part dish soap in your spray bottle. Don’t shake it too hard or you’ll create foam that makes it harder to see actual leak bubbles. A gentle swirl does the trick.
The mixture should feel slippery but not thick. If it’s too soapy, the solution won’t spread evenly. Too watery, and the bubbles won’t form properly around leaks.
The Testing Process
Start spraying sections of the pad systematically. Work in zones about two feet wide, moving from valve to bottom. Don’t rush this part. You’re looking for tiny bubbles that form and grow at puncture sites.
Watch each section for at least 30 seconds before moving on. Small leaks create bubbles slowly. A pinhole might only produce one or two small bubbles per minute, so patience matters here.
Pay extra attention to seams and bonded areas. These spots fail more often than the main fabric. The valve area deserves close inspection too since it’s a common leak point on used pads.
Mark any suspicious spots with tape or a marker. You’ll want to recheck these areas at the six-hour and 12-hour marks.
Monitoring Over 12 Hours
Check your pad at regular intervals. A good schedule looks like this:
| Time | Action |
| Hour 0 | Initial full inspection with soap solution |
| Hour 3 | Quick visual check for deflation |
| Hour 6 | Reapply soap to marked areas |
| Hour 9 | Visual and touch check |
| Hour 12 | Final soap test and firmness assessment |
Between checks, the pad should maintain its shape and firmness. Press down on different sections to feel for soft spots that might indicate slow leaks you missed during soap testing.
Temperature changes can affect results. If your testing area gets significantly warmer or cooler, the pad might appear to lose or gain air even without leaks. Try to maintain consistent conditions throughout the test.
What Counts as a Failed Test?
Your pad fails if it shows visible deflation after 12 hours, even without finding specific leak points. Some pads have such small, distributed leaks that soap won’t catch them all, but the overall air loss tells the story.
Continuous bubble formation at any spot means you’ve got a leak. One or two bubbles might be soap residue, but steady bubble production indicates air escaping.
A pad that feels noticeably softer or shows wrinkles after 12 hours has problems. Quality sleeping pads should lose less than 10% of their firmness overnight under normal conditions.
Common Leak Locations
Most leaks happen at the valve. The seal degrades over time, especially on used pads that have been opened and closed hundreds of times. Check the valve threads and the area where the valve attaches to the fabric.
Seams are the second most common failure point. The bonding material breaks down from repeated inflation cycles and temperature changes. Run your soapy solution along every seam line carefully.
Punctures from sharp objects usually appear in the bottom surface. Rocks, sticks, and rough ground cause these during use. They’re often tiny but can grow larger if not repaired.
After the Test
If your used sleeping pad passes, you’ve got yourself a reliable piece of gear. Rinse off any soap residue with clean water and let it dry completely before storage.
Failed pads aren’t necessarily trash. Many leaks can be repaired with patch kits designed for sleeping pads. Small punctures and minor valve issues are usually fixable at home.
For pads with multiple leaks or seam failures, you might be better off replacing them. The cost and effort of extensive repairs often exceeds buying a newer used pad or budget new model.
The 12-hour soap bubble test gives you real confidence in your camping gear. You’ll know exactly what you’re working with before you’re miles into the backcountry. That peace of mind is worth the small time investment.
Frequently Asked Questions
Why is a 12-hour leak test important for a used sleeping pad?
Ans: Slow leaks may not appear during quick checks, but over 12 hours they reveal air loss that could leave you on cold ground overnight.
How does the soap bubble method detect leaks?
Ans: Escaping air creates visible bubbles when soap solution is applied, making even tiny punctures or seam failures easy to spot.
Which areas of a used sleeping pad leak most often?
Ans: Leaks commonly occur around valves, seams, and the bottom surface where repeated use and sharp ground contact cause material breakdown.
What signs mean a used sleeping pad fails the leak test?
Ans: Visible deflation, continuous bubble formation, soft spots, or more than 10% firmness loss after 12 hours indicate air leakage problems.
Can a leaking used sleeping pad be repaired?
Ans: Small punctures and minor valve leaks are usually repairable with patch kits, but multiple leaks or seam failures often require replacement.